VDO Tachometer fitting in Td5 Defender
Unfortunately Lowtension are no more, but the VDO gauge may be available from other suppliers. This article was supplied by Lowtension, I (Martin) cannot supply VDO tachometers.
Many thanks
to Tony Boyle, all of the images are taken from his Td5 and
his help was invaluable in the construction of this project kit. Td5 owners have contacted me asking whether there is a suitable tachometer that
will fit straight into the existing instrument pack and match the other
instruments - the answer is our Td5 tachometer kit.
The
tachometer output from the Td5 ECU is very low - even measuring with an
oscilloscope the signal is small. We have boosted the DC offset to the standard
VDO tachometer to enable it to function in the same way as the original
equipment tachometer.
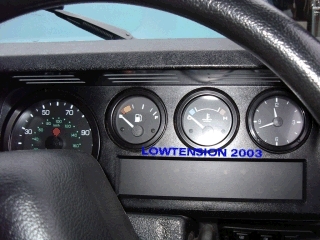 |
This is the
existing instrument combi with the standard fuel gauge, temperature and
clock layout. |
|
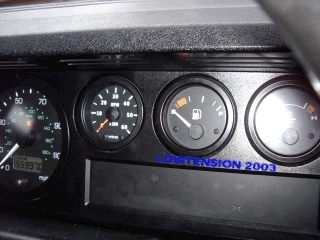
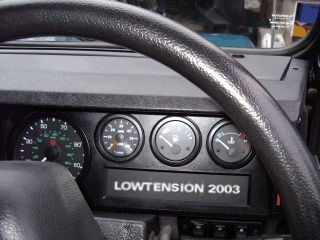
And this is
where we want to get to with the fuel gauge and temperature moved over one
place to the right, the clock removed (this can either be reintegrated
into the dashboard or many audio units already have a clock fitted) and
the VDO tachometer is inserted into the first position. Notice that the
pointer of the tachometer is orange, the night time illumination is
through lit green - matching the other instruments. |
 |
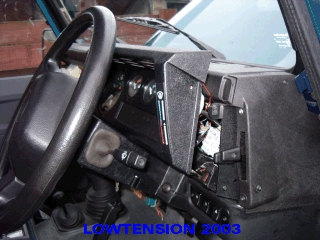 |
The combi is
completely removed from the TD5 by removing the four screws (two each side
and two underneath). The combi is then carefully unplugged from the main
harness for modification. |
|
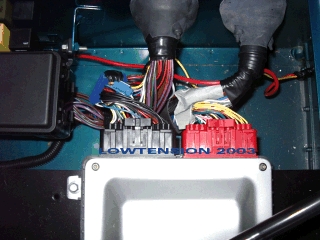
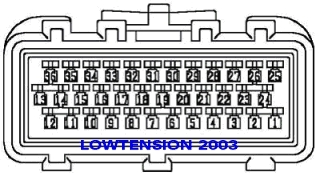
The tachometer will need a signal to drive it, and this is available from the
ECU located under the driver's seat. If you are lucky, there will be a
White/Grey trace wire already at the plug up at the instrument harness.
Otherwise you can connect directly to the ECU at the BLACK plug -
the correct pin is number 19, located centrally at the plug.
|
 |
|
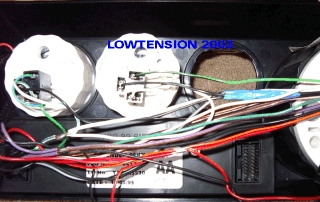 |
Now at the
Combi, we remove all of the tape covering the harness and also the green
tape covering the power connection to the instruments. The clock is
removed and the small harness cut away. |
|
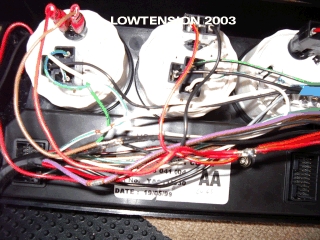
The
instruments are unplugged individually and moved one position. The lamp
holder for the fuel becomes the lamp for the tachometer and the new lamp
holder and power connections for the tachometer are soldered into the
harness. (These parts are all contained in the kit.) |
 |
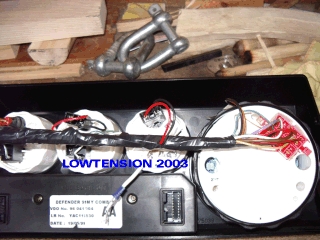 |
The
connections and the harness are re-taped. It is worth checking at this
point that the instruments are sitting squarely - if necessary they can be
rotated from the back. |
|
Finally, the
Combi is fitted back to the TD5, the signal connection from the ECU is
plugged into the tachometer, all plugs fitted and the Combi screws
replaced - All that remains is to start the engine and watch the needle
respond! |
 |
|